Imagine walking into a party and being surrounded by a sea of vibrant balloons, expertly arranged to create a breathtaking centerpiece. You can't help but wonder how the decorator achieved such a stunning effect. The truth is, it's not just about inflating a few balloons and tying them together. There are secrets to creating truly show-stopping balloon decorations, and they all come down to mastering a few essential design tricks. You're about to discover the insider tips that will take your balloon creations from basic to brilliant – are you ready to elevate your decorating game?
Mastering Balloon Cluster Techniques

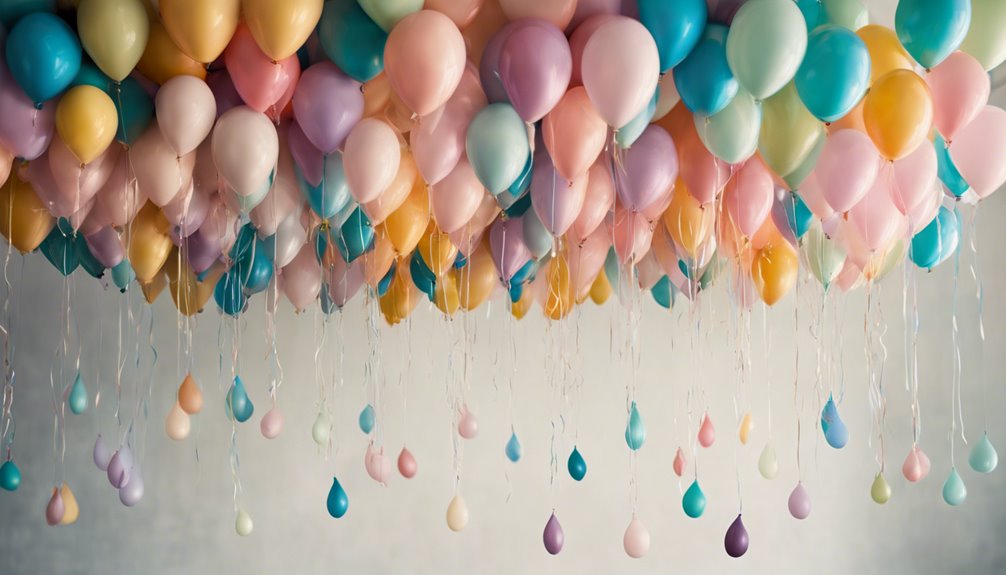
Mastering balloon cluster techniques is all about understanding how to create visually appealing groups of balloons that add a pop of color and whimsy to any celebration. As you design your balloon clusters, consider the balloon density, which refers to the number of balloons in a given area. You want to achieve a balanced look, neither too sparse nor too crowded. To do this, you can experiment with different cluster patterns, such as the "tight and tidy" look, where balloons are grouped closely together, or the "loose and playful" look, where they're spaced out for a more whimsical feel.
When creating your clusters, think about the shape and size of the balloons, as well as their color and texture. You can mix and match different sizes and shapes to add visual interest, and choose balloons in complementary colors to create a cohesive look. Remember, the key to a beautiful balloon cluster is balance and harmony. By mastering these techniques, you'll be able to create stunning balloon decorations that will elevate any celebration and make it truly unforgettable.
Creating Ombre Balloon Effects
As you explore the art of creating ombre balloon effects, you'll want to master the gradual color shift that gives this design its signature look. To achieve this, you'll need to perfect your balloon inflation technique, carefully controlling the air pressure to blend colors seamlessly. By fine-tuning this skill, you'll be able to craft stunning ombre balloon decorations that add an extra layer of sophistication to any event or celebration.
Gradual Color Transition
You've probably seen those stunning ombre balloon effects at trendy parties and weddings, and wondered how to achieve that gradual color shift that adds an extra layer of sophistication to the overall decor. To master the art of gradual color shift, understanding the fundamentals of color blocking and monochromatic shades is crucial.
| Color Blocking | Monochromatic Shades | Gradual Color Shift |
|---|---|---|
| Divide balloons into sections | Select shades of the same hue | Create a seamless progression |
| Use tape to separate colors | Choose 3-5 shades for a subtle effect | Inflate balloons to varying pressures |
| Gradually blend colors | Experiment with pastel or neon shades | Create a cohesive look with 2-3 colors |
| Add a pop of contrast | Balance light and dark shades | Practice makes perfect – experiment! |
| Create a focal point | Consider the overall mood you want to create | Don't be afraid to try new combinations |
Balloon Inflation Technique
While crafting an ombre balloon effect, it's crucial to recognize that the secret to achieving a seamless shift lies not only in the color selection but also in the inflation technique itself. You'll want to master the art of controlled inflation to prevent uneven expansion, which can ruin the ombre effect. Start by using high-quality balloon pumps that allow for precise air control. Next, invest in an air gauge to measure the pressure inside the balloon. This will help you inflate the balloon to the perfect pressure, ensuring a consistent color gradation.
When inflating the balloon, use short, gentle puffs to avoid over-inflating the balloon. It's better to err on the side of caution and under-inflate slightly, as you can always add more air later. Remember to keep the balloon pump moving in a circular motion to distribute the air evenly. By following these tips, you'll be able to achieve a stunning ombre effect that will elevate your balloon decoration to the next level.
Concealing Balloon Stems With Ease

When creating stunning balloon decorations, you'll often find that the stems can be an eyesore. Fortunately, you can easily conceal them using stem wraps and ribbons, floral tape magic, or by hiding them with filler balloons. By mastering these techniques, you'll be able to create a polished, professional-looking design that wows your audience.
Stem Wraps and Ribbons
How often have you struggled to conceal those unsightly balloon stems, only to have them detract from the overall aesthetic of your beautifully crafted balloon decoration? You're not alone! Stem wraps and ribbons are a game-changer when it comes to hiding those pesky stems. By incorporating stem embellishments, like delicate ribbons or intricately designed wraps, you can seamlessly blend the stems into the overall design.
To achieve a polished look, start by wrapping the stem with a matching or complementary colored ribbon. Secure it with a small knot or a dot of hot glue. For a more elaborate design, try adding balloon twists to create a textured, layered effect. This will not only conceal the stem but also add visual interest to your arrangement.
Floral Tape Magic
You've mastered the art of stem wraps and ribbons, but there's another secret to concealing balloon stems with ease: floral tape magic. This technique is a game-changer for creating professional-looking balloon arrangements. When using floral tape, the key is strategic tape placement. Wrap a small piece of tape around the stem, about an inch from the base of the balloon, to create a anchor point. Then, simply wrap the stem with flowers, greenery, or other decorative elements, securing them with a small piece of tape at the top.
This flower wrapping technique not only hides the stem but also adds a beautiful, organic touch to your arrangement. For a more polished look, make sure to wrap the tape tightly and evenly, ensuring that it's not visible from the outside. With floral tape magic, you can create stunning balloon designs that elevate any event or celebration. By incorporating this technique into your balloon decorating repertoire, you'll be able to take your designs to the next level and impress your clients or guests with your creativity and skill.
Hiding With Filler Balloons
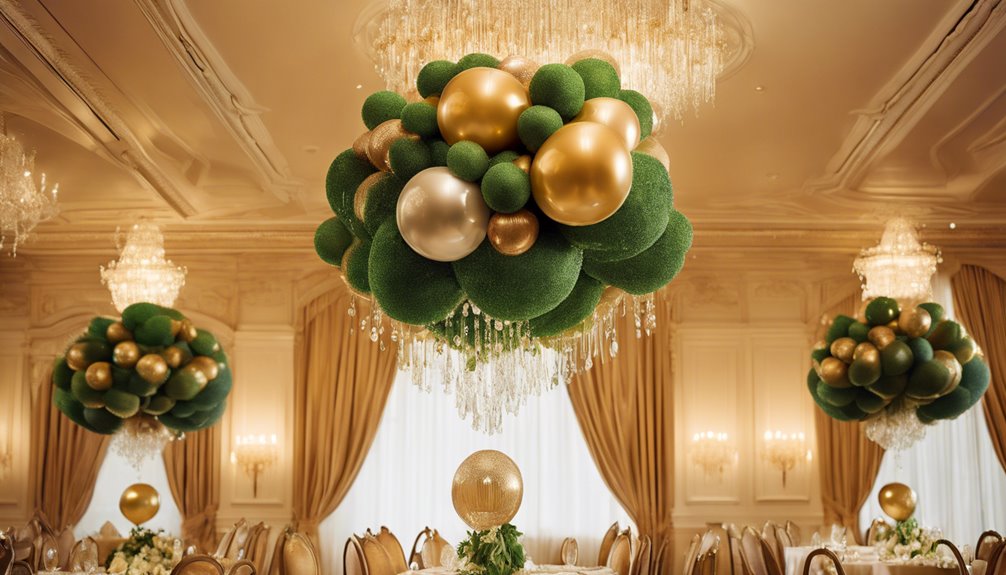
Balloon clusters can be a stunning focal point, but they can also draw attention to the unsightly stems holding them together. You can create a polished look by concealing these stems with filler balloons, a clever balloon concealment technique. To do this, you'll need a mix of balloons in various sizes and a few filler arrangements. Start by grouping your main balloons together, leaving a small gap in the center. Then, fill this gap with smaller balloons, making sure they're securely tied to the main balloons. This will create a seamless, stem-free look.
When choosing filler balloons, select ones that complement your main balloons with respect to color and texture. You can also use balloons with subtle patterns or metallic finishes to add depth and visual interest. Remember, the key is to create a cohesive look, so choose filler balloons that blend in rather than stand out. By hiding the stems with filler balloons, you'll create a beautiful, professional-looking arrangement that will elevate your event decor.
Building Dramatic Balloon Arches
A grand entrance deserves a showstopping centerpiece, and that's exactly what a dramatic balloon arch can provide. To create an unforgettable arch, you'll need a sturdy balloon framework that can support the weight of multiple balloons. Start by inflating balloons to the same size to guarantee arch symmetry. Then, attach them to the framework using balloon ties or clips, making sure to space them evenly apart.
To add drama to your arch, experiment with different balloon sizes, textures, and colors. You can also incorporate personalized elements, such as monograms or themed balloons, to make the arch truly unique. Don't be afraid to get creative with the shape of your arch – try using curved or angular lines to add visual interest. Finally, secure the arch to a stable base or anchor it to the ceiling to prevent it from toppling over. With these tips, you'll be well on your way to creating a breathtaking balloon arch that will leave your guests in awe.
Designing Whimsical Balloon Columns

Elevating your event décor to new heights, whimsical balloon columns are an effortless way to add a touch of magic to any celebration. You can create a sense of wonder and enchantment with these towering centerpieces that seem to defy gravity. To achieve this, making it a top priority to focus on column stability and balloon anchoring is crucial.
Three key factors to weigh when designing whimsical balloon columns are:
- Balloon selection: Choose balloons in various sizes and colors to create a visually appealing gradient effect. This will add depth and dimension to your columns.
- Anchoring methods: Secure your balloons to a stable base or anchor to prevent them from toppling over. You can use weights, sandbags, or even attach them to a column or wall.
- Structural support: Use internal or external supports, such as rods or frames, to maintain the column's shape and stability. This will guarantee your whimsical creation stands tall throughout the event.
Achieving Perfect Balloon Spheres
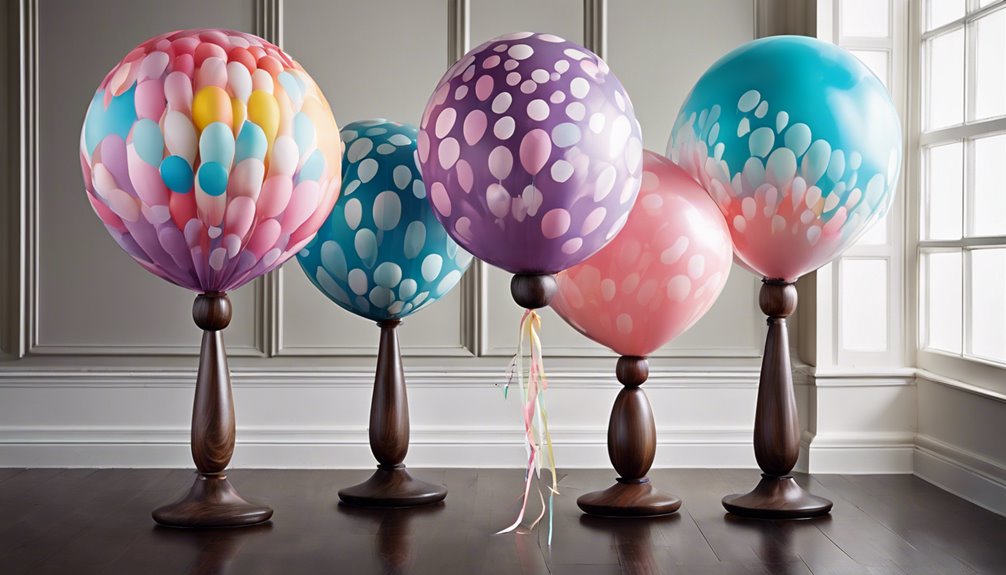
You've mastered the art of whimsical balloon columns, now it's time to focus on creating perfect balloon spheres that will mesmerize your guests. The key to achieving this lies in understanding that balloon size matters. Using balloons of uniform size guarantees a symmetrical and visually appealing sphere. Selecting the right size balloons for your design is vital, as larger balloons can be more challenging to work with, especially when creating smaller spheres.
Air pressure control is also pivotal in achieving a perfect balloon sphere. Over-inflating or under-inflating balloons can affect the overall shape and structure of the sphere. Make sure to inflate each balloon to the correct pressure, as specified by the manufacturer, to secure a smooth and even surface. When attaching the balloons to each other, use a gentle touch to avoid stretching or popping the balloons. By paying attention to these details, you'll be able to create stunning balloon spheres that will elevate your event decor and leave a lasting impression on your guests.
Crafting Unique Balloon Centerpieces

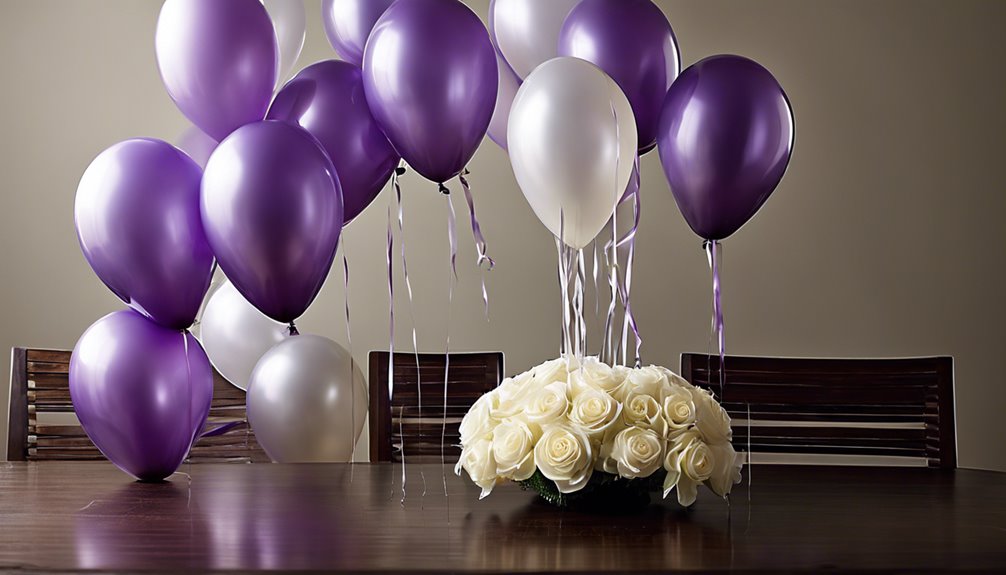
As the sun sets on your special occasion, the tables come alive with vibrant balloon centerpieces that add a pop of color and whimsy to the atmosphere. You want your centerpieces to be unique, reflecting your personal style and the occasion's theme. To create one-of-a-kind balloon centerpieces, start by selecting balloons in various textures, such as matte, metallic, and glossy. This mix of textures adds depth and visual interest to your design.
- Seasonal themes: Incorporate seasonal elements, like pinecones and evergreen branches for winter, or sunflowers and daisies for summer. This guarantees your centerpiece feels connected to the time of year and adds a personal touch.
- Balloon clusters: Group balloons of varying sizes and textures together to create a visually appealing cluster. You can also add decorative elements, like ribbons or flowers, to enhance the design.
- Personalized accents: Add personalized accents, such as monogrammed balloons or custom-printed ribbons, to make your centerpiece truly one-of-a-kind. This thoughtful touch shows you've gone the extra mile to make your occasion special.
